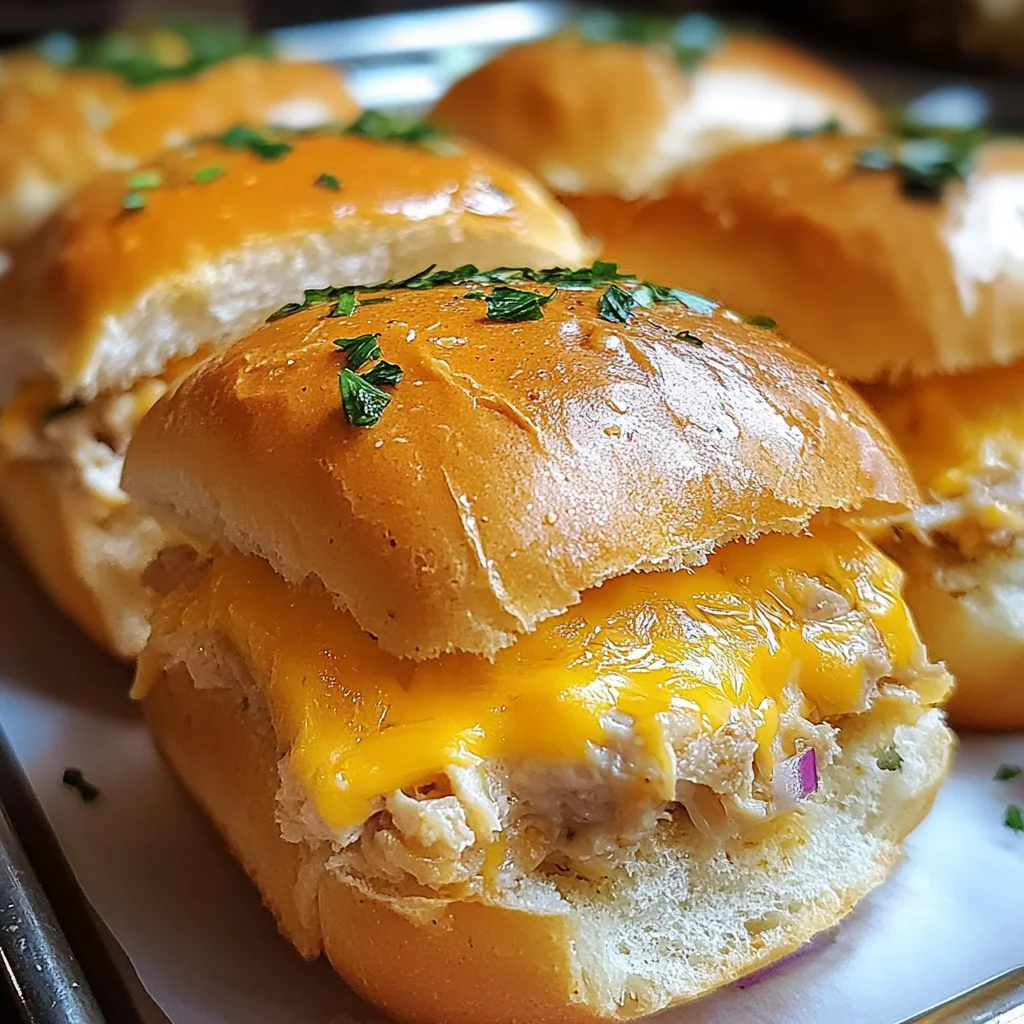
Cheesy Tuna Melt Sliders
The Cheesy Tuna Melt Sliders are the ultimate comfort food, perfect for gatherings, game days, or a cozy family dinner. Packed with flavor and oozing with melted cheese, these sliders are sure to impress. Their combination of sweet Hawaiian rolls and savory tuna filling creates a delightful contrast that makes each bite irresistible.
Why You’ll Love This Recipe
- Quick Preparation: These sliders come together in no time, making them ideal for busy weeknights.
- Flavor Explosion: The blend of creamy tuna salad and sharp cheddar cheese creates a mouthwatering taste experience.
- Versatile Dish: Perfect as an appetizer, snack, or main dish – they fit any occasion.
- Easily Customizable: Feel free to add your favorite veggies or spices to make them uniquely yours.
- Kid-Friendly: With their cheesy goodness, they’re sure to be a hit with children and adults alike.
Tools and Preparation
To create these delicious sliders, you’ll need a few essential tools. Having the right equipment makes the cooking process smoother and more enjoyable.
Essential Tools and Equipment
- Baking dish (9×13 inches)
- Large serrated bread knife
- Mixing bowl
- Spatula
- Pastry brush
- Microwave-safe bowl
Importance of Each Tool
- Baking dish: Ensures even cooking and holds all your sliders securely.
- Serrated bread knife: Perfect for cutting through soft rolls without squashing them.
- Mixing bowl: Allows you to combine ingredients easily and efficiently.
- Pastry brush: Helps apply the garlic butter mixture evenly for the best flavor.
Ingredients
For the Sliders
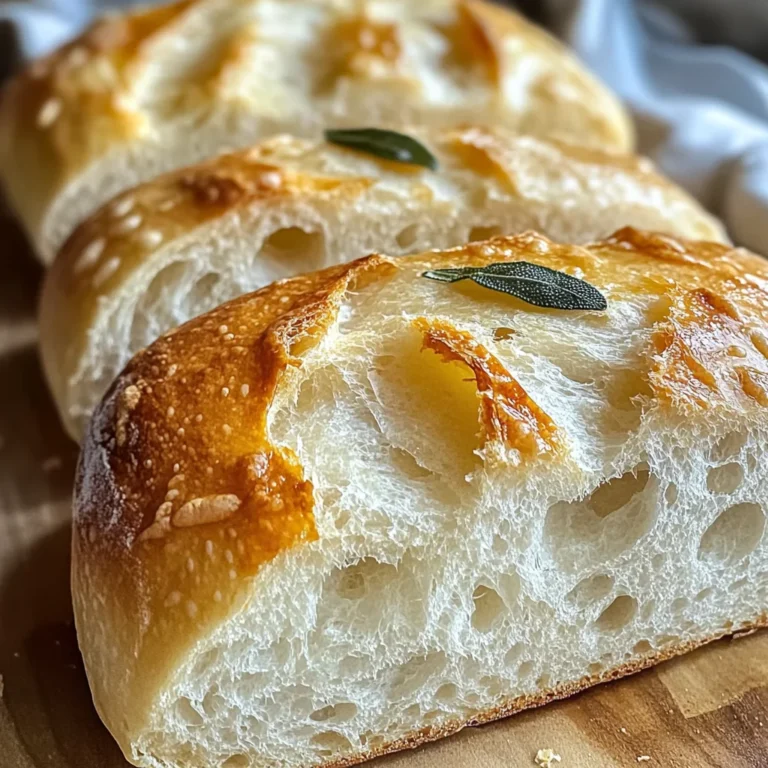
- Hawaiian Sweet Rolls (12-count): The signature sweet and fluffy base for our sliders. Their softness soaks up the butter topping beautifully while their slight sweetness perfectly contrasts the savory filling.
- Canned Tuna (Two 5-ounce cans): Use tuna packed in water, drained very thoroughly. This is the protein-packed heart of our recipe.
- Mayonnaise (1 cup): Full-fat mayonnaise provides the creamiest, richest binder for the tuna salad.
- Celery (2 stalks): Finely chopped for a fresh, crisp crunch and a subtle vegetal note that cuts through the richness.
- Red Onion (1/4 cup): Minced finely to provide a sharp, zesty bite without overpowering the other flavors.
For the Topping
- Sharp Cheddar Cheese (2 cups): Freshly grated from a block for the ultimate melt-in-your-mouth experience. Pre-shredded cheese often contains anti-caking agents that can inhibit melting.
- Dijon Mustard (1 tablespoon): Adds a tangy, complex flavor that elevates the tuna salad from simple to sophisticated.
- Lemon Juice (1 tablespoon): Freshly squeezed to brighten up the entire mixture and add a touch of acidity.
- Black Pepper (1/2 teaspoon): Freshly ground for the best flavor.
For the Garlic Butter Mixture
- Unsalted Butter (1/2 cup): This will be melted for the essential topping that makes the rolls golden and delicious.
- Garlic Powder (1 teaspoon): A key ingredient for the butter topping, infusing the rolls with a savory, aromatic flavor.
- Dried Parsley (1 teaspoon): Mixed into the butter topping for a touch of color and herbaceousness.
How to Make Cheesy Tuna Melt Sliders
Step 1: Preheat the Oven
Begin by preheating your oven to 375°F (190°C). Take a 9×13 inch baking dish and lightly grease it with butter or non-stick spray to prevent the sliders from sticking.
Step 2: Prepare The Rolls
Carefully take the entire slab of 12 Hawaiian rolls out of the package. Without separating them:
1. Use a large serrated bread knife to slice the slab in half horizontally, creating a single top piece and a single bottom piece.
2. Place the entire bottom slab of rolls into your prepared baking dish.
Step 3: Make The Tuna Salad Mixture
In a medium-sized mixing bowl:
1. Combine two cans of thoroughly drained tuna, mayonnaise, finely chopped celery, minced red onion, Dijon mustard, fresh lemon juice, and black pepper.
2. Stir everything until well combined and creamy. Draining the tuna properly is crucial to prevent soggy sliders; press out as much liquid as possible.
Step 4: Assemble The Sliders
Spoon the tuna salad mixture evenly over the bottom slab of rolls in your baking dish:
1. Use a spatula to spread it all way to edges ensuring every slider gets ample filling.
Step 5: Add Cheese Topping
Sprinkle freshly grated sharp cheddar cheese evenly over:
1. Ensure generous coverage as this is what makes them “cheesy” tuna melts.
Step 6: Reassemble The Rolls
Place top slab directly on top of cheese layer:
1. Line it up with bottom slab to reform original shape.
Step 7: Prepare Garlic Butter Mixture
In a small microwave-safe bowl:
1. Melt unsalted butter.
2. Once melted, stir in garlic powder and dried parsley until well mixed.
Step 8: Brush The Rolls
Using pastry brush:
1. Generously brush garlic butter mixture all over tops and sides of rolls ensuring coverage into crevices.
Step 9: Bake Covered
Cover baking dish loosely with aluminum foil:
1. Bake in preheated oven for about 15 minutes preventing tops from burning before cheese melts completely.
Step 10: Bake Uncovered
After 15 minutes:
1. Carefully remove aluminum foil.
2. Place dish back in oven; bake another 5-10 minutes until tops are golden brown and cheese is melted bubbly.
Step 11: Serve Warm
Remove sliders from oven; let rest in pan for about 3-5 minutes:
1. This allows cheese to set slightly making them easier to cut serve immediately while warm gooey!
How to Serve Cheesy Tuna Melt Sliders
Cheesy Tuna Melt Sliders are best served warm and gooey, making them a perfect appetizer or main dish for gatherings. Here are some delightful serving suggestions to enhance your meal experience.
Pair with Fresh Salads
- Garden Salad: A light salad with mixed greens, cucumbers, and tomatoes adds freshness that balances the richness of the sliders.
- Coleslaw: The crunch and tang from coleslaw pairs well with the creamy tuna filling, providing a satisfying contrast.
Add Dipping Sauces
- Spicy Mayo: A simple blend of mayonnaise and sriracha brings a delightful kick that complements the cheesy flavors.
- Ranch Dressing: This classic dip is always a hit and adds a creamy texture that enhances each bite.
Enjoy with Chips
- Potato Chips: The salty crunch of potato chips makes for a classic side that contrasts beautifully with the softness of the sliders.
- Tortilla Chips: Serve alongside salsa or guacamole for a fun twist on traditional sides.
How to Perfect Cheesy Tuna Melt Sliders
Achieving the perfect Cheesy Tuna Melt Sliders is all about attention to detail. Here are some tips to ensure your sliders turn out delicious every time.
- Use Fresh Ingredients: Always use fresh vegetables and high-quality cheese for the best flavor and texture.
- Drain Tuna Thoroughly: Properly draining the tuna prevents soggy sliders. Press out as much liquid as possible before mixing.
- Grate Your Cheese: Freshly grated cheese melts better than pre-shredded varieties, ensuring a gooey topping.
- Don’t Skip the Butter Topping: The garlic butter mixture is crucial for achieving a golden-brown crust and rich flavor.
- Let Them Rest Before Serving: Allowing the sliders to rest for a few minutes after baking makes them easier to cut and serve.
Best Side Dishes for Cheesy Tuna Melt Sliders
When enjoying Cheesy Tuna Melt Sliders, pairing them with complementary side dishes can elevate your meal. Here are some excellent options.
- Mixed Veggie Platter: Fresh veggies like carrots, celery, and bell peppers served with hummus make for a crunchy side.
- Sweet Potato Fries: These crispy fries provide a sweet contrast to the savory sliders and can be baked or fried.
- Caesar Salad: A classic Caesar salad adds a touch of elegance with its creamy dressing and crunchy croutons.
- Fruit Salad: A light fruit salad offers refreshing sweetness that balances the richness of the sliders.
- Potato Salad: Creamy potato salad adds substance and pairs well with the cheesy flavors of the sliders.
- Onion Rings: Crispy onion rings provide an indulgent crunch that’s sure to please any crowd.
Common Mistakes to Avoid
Making Cheesy Tuna Melt Sliders is simple, but avoiding common mistakes can elevate your dish.
- Boldly drain the tuna: Failing to properly drain the canned tuna can result in soggy sliders. Make sure to press out as much liquid as possible for a perfect texture.
- Don’t skip the butter topping: Overlooking the garlic butter mixture means missing out on a golden, crispy top. Always brush it generously over the rolls before baking.
- Avoid pre-shredded cheese: Using pre-shredded cheese can lead to less meltiness due to added anti-caking agents. Grate fresh cheese for the best results.
- Be mindful of baking time: Leaving the sliders in the oven too long can dry them out. Keep an eye on them to ensure they are perfectly golden and gooey.
- Neglecting resting time: Cutting the sliders immediately after baking can make them messy. Allow them to rest for a few minutes so the cheese sets slightly.
Storage & Reheating Instructions
Refrigerator Storage
- Store leftovers in an airtight container.
- They can be kept in the refrigerator for up to 3 days.
Freezing Cheesy Tuna Melt Sliders
- Wrap individual sliders tightly in plastic wrap or aluminum foil.
- Store them in a freezer-safe container for up to 2 months.
Reheating Cheesy Tuna Melt Sliders
- Oven: Preheat to 350°F (175°C) and bake for about 10-15 minutes until heated through.
- Microwave: Heat on medium power for 30-60 seconds, checking frequently.
- Stovetop: Warm in a skillet over low heat for several minutes, covered, until hot.
Frequently Asked Questions
Here are some common questions about making Cheesy Tuna Melt Sliders.
What type of tuna is best for Cheesy Tuna Melt Sliders?
Canned tuna packed in water is ideal as it provides a firmer texture and less moisture than other varieties.
Can I customize my Cheesy Tuna Melt Sliders?
Absolutely! You can add ingredients like chopped pickles, bell peppers, or herbs to suit your taste preferences.
How do I make Cheesy Tuna Melt Sliders healthier?
Consider using Greek yogurt instead of mayonnaise and adding more vegetables like spinach or tomatoes for added nutrition.
Can I use different cheeses?
Yes, feel free to experiment with different types of cheese like Monterey Jack or Pepper Jack for a unique flavor twist!
Final Thoughts
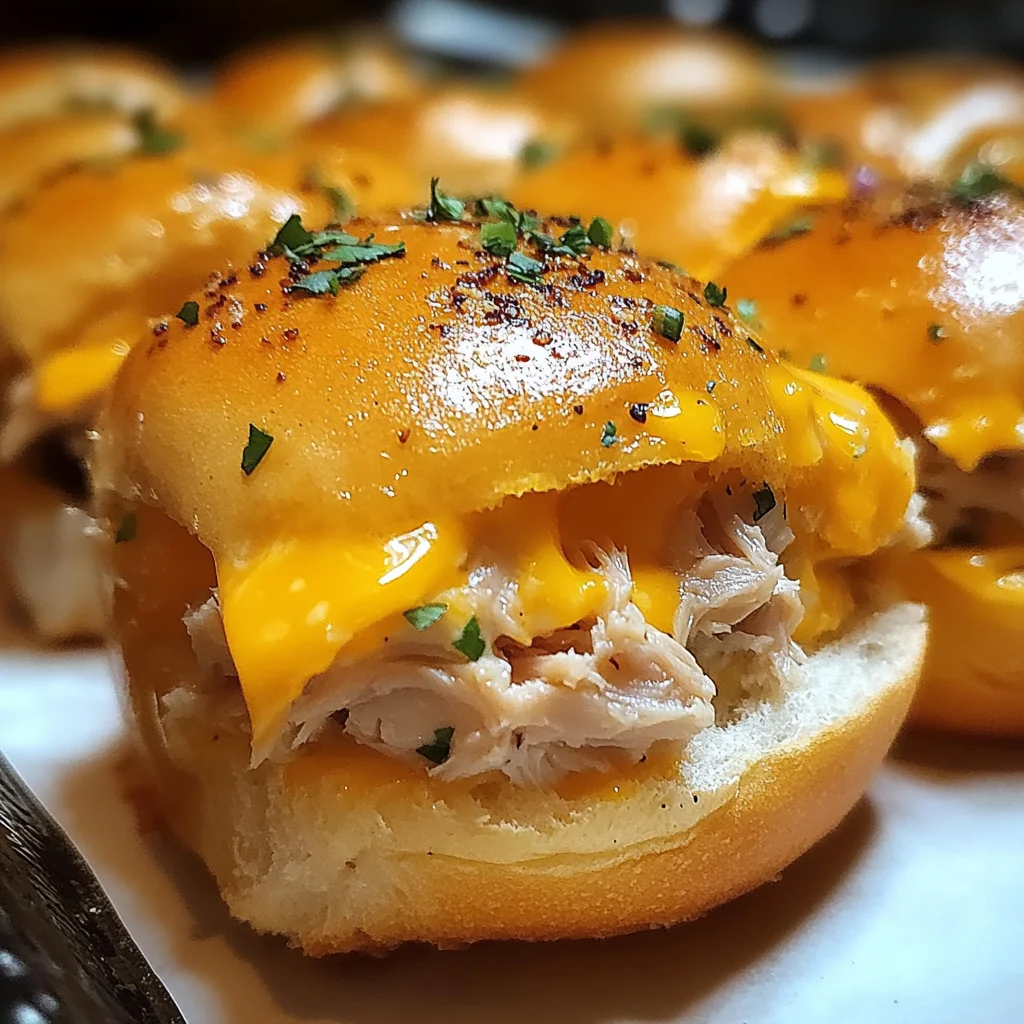
Cheesy Tuna Melt Sliders are not only delicious but also incredibly versatile. You can easily customize them with your favorite ingredients or sides. Perfect for any gathering or weeknight dinner, these sliders are sure to please everyone at your table. Give this recipe a try and enjoy a cheesy delight that will keep you coming back for more!
Cheesy Tuna Melt Sliders

Cheesy Tuna Melt Sliders are the perfect blend of savory and cheesy goodness, making them an irresistible comfort food for any occasion. These sliders are quick to prepare, requiring minimal effort while delivering maximum flavor. With sweet Hawaiian rolls serving as the base, combined with a creamy tuna salad and topped with melted sharp cheddar cheese, each bite is a delightful experience. Ideal for game days, family dinners, or casual gatherings, these sliders can be easily customized to suit your taste preferences. Plus, they’re sure to be a hit with kids and adults alike!
- Prep Time: 15 minutes
- Cook Time: 25 minutes
- Total Time: 40 minutes
- Yield: Serves 12 sliders
- Category: Main
- Method: Baking
- Cuisine: American
Ingredients
- Hawaiian Sweet Rolls (12-count)
- Canned Tuna (two 5-ounce cans)
- Mayonnaise (1 cup)
- Celery (2 stalks)
- Red Onion (1/4 cup)
- Sharp Cheddar Cheese (2 cups)
- Dijon Mustard (1 tablespoon)
- Lemon Juice (1 tablespoon)
- Garlic Powder (1 teaspoon)
- Unsalted Butter (1/2 cup)
Instructions
- Preheat oven to 375°F (190°C) and grease a 9×13 inch baking dish.
- Slice Hawaiian rolls in half horizontally without separating them and place the bottom slab in the baking dish.
- In a mixing bowl, combine drained tuna, mayonnaise, chopped celery, minced red onion, Dijon mustard, lemon juice, and black pepper until creamy.
- Spread the tuna salad evenly over the bottom slab of rolls. Top with grated cheddar cheese.
- Place the top slab of rolls on the cheese layer.
- In a microwave-safe bowl, melt butter and mix in garlic powder and dried parsley. Brush this mixture over the top of the rolls.
- Cover with foil and bake for about 15 minutes; then uncover and bake for another 5-10 minutes until golden brown.
Nutrition
- Serving Size: 1 slider
- Calories: 290
- Sugar: 4g
- Sodium: 680mg
- Fat: 18g
- Saturated Fat: 8g
- Unsaturated Fat: 9g
- Trans Fat: 0g
- Carbohydrates: 24g
- Fiber: 1g
- Protein: 10g
- Cholesterol: 35mg