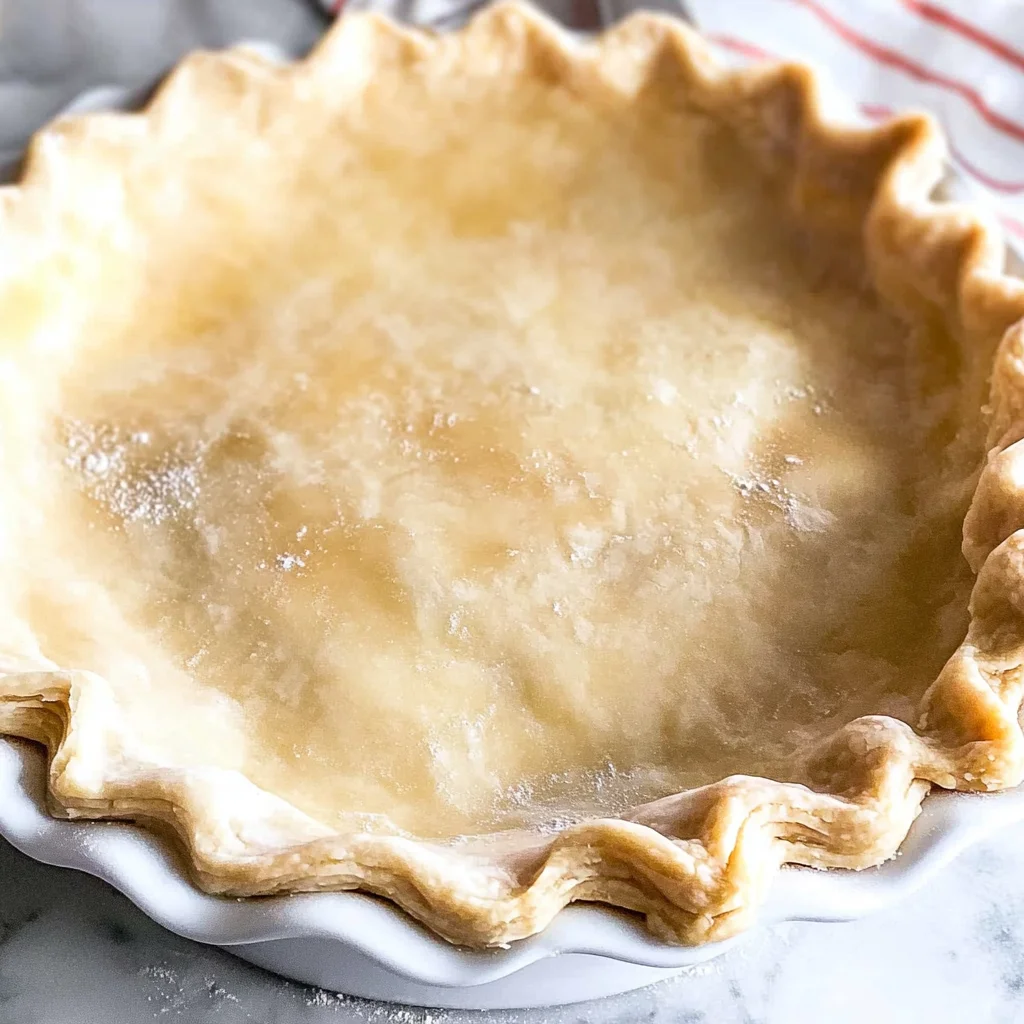
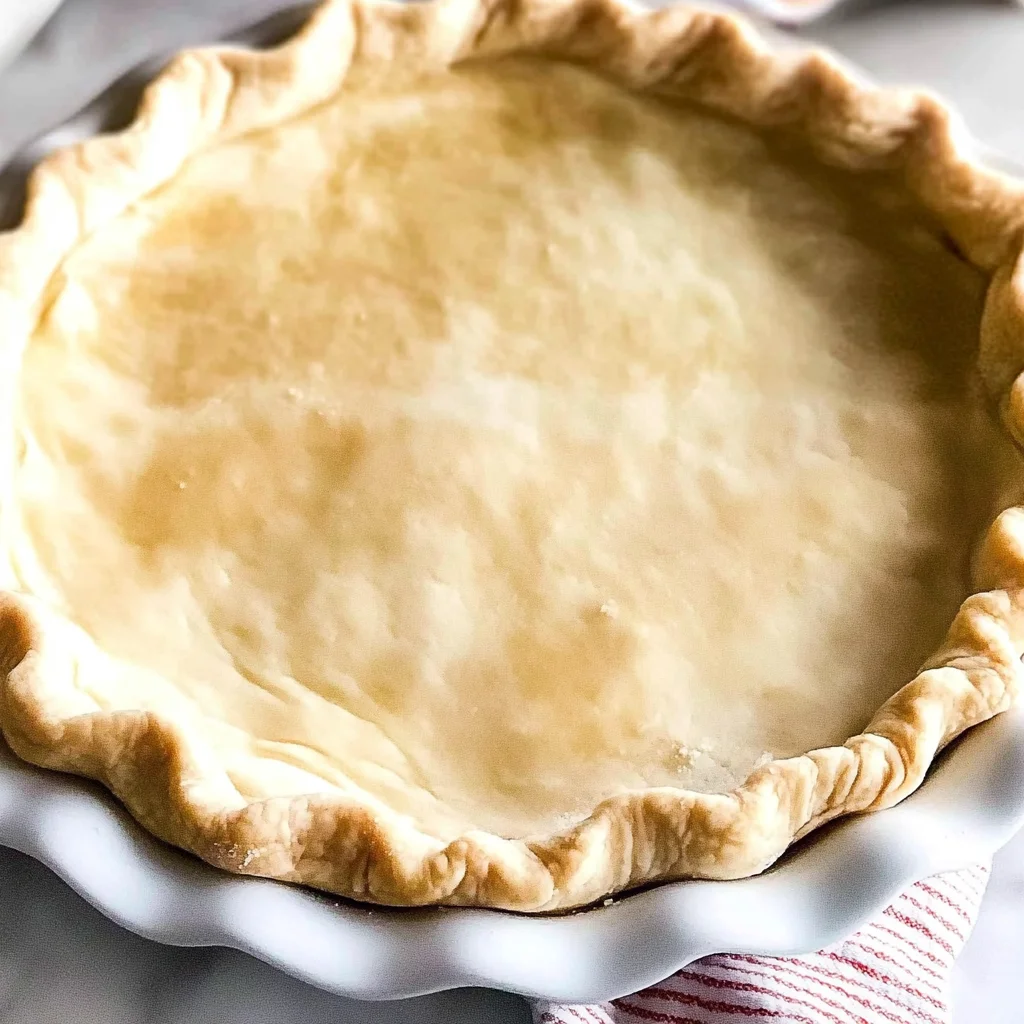
Easy Homemade Pie Crust
Making an Easy Homemade Pie Crust is a delightful way to elevate your dessert game. This versatile crust can be used for sweet or savory pies, making it perfect for holiday gatherings or casual family dinners. With just a handful of simple ingredients and a bit of technique, you will create the ideal base for your favorite fillings. Say goodbye to store-bought options and embrace the joy of baking from scratch!
Why You’ll Love This Recipe
- Simple Ingredients: This recipe uses basic pantry staples, making it easy to whip up whenever you crave pie.
- Quick Preparation: In just 20 minutes of prep time, you’ll have dough ready to chill and roll out.
- Versatile Use: Perfect for any pie filling, whether fruit-based or creamy custard, this crust fits all occasions.
- Rich Flavor: With cold butter and a hint of apple cider vinegar, this crust offers a rich, buttery flavor that enhances any pie.
- Perfect Texture: The method ensures a flaky and tender texture that will impress your guests with every bite.
Tools and Preparation
To make the process smooth, gather your essential tools before you start. Using the right equipment will help you achieve the best results in your pie crust.
Essential Tools and Equipment
- Mixing bowl
- Pastry blender or fork
- Measuring cups and spoons
- Plastic wrap or foil
- Rolling pin
- Baking parchment
Importance of Each Tool
- Mixing bowl: A large bowl provides ample space for mixing ingredients without spilling.
- Pastry blender or fork: These tools are crucial for cutting butter into flour to achieve that desired crumbly texture.
- Rolling pin: Essential for rolling out the dough evenly to fit your pie dish.
Ingredients
To create your Easy Homemade Pie Crust, gather the following ingredients:
For the Crust
- 2 1/2 cups all-purpose flour
- 1/2 teaspoon salt
- 3/4 cup cold unsalted butter (cubed)
- 1 teaspoon apple cider vinegar
- 1/2 cup ice-cold water
How to Make Easy Homemade Pie Crust
Step 1: Blend Dry Ingredients and Butter
- In a large mixing bowl, combine flour and salt. Whisk together until well blended.
- Add the cold unsalted butter, using a pastry blender or your fingers. Mix until the mixture resembles coarse crumbs.
Step 2: Make Pastry
- In a measuring jug, mix together apple cider vinegar and ice-cold water.
- Gradually pour this mixture over the dry ingredients while gently mixing until it forms a cohesive dough.
- Shape the dough into a ball without kneading it too much! Divide into two disks.
- Wrap each disk in foil and place them in the refrigerator for at least one hour.
Step 3: Roll Out Crust
- Take one disk from the fridge and place it between two sheets of baking parchment.
- Roll out into a circle slightly larger than a 9-inch pie dish.
- Fit the rolled-out dough into the lightly greased pie dish and return to the fridge to chill while you prepare your filling.
- For a double-crust pie, repeat rolling out with the second disk before filling.
Now you’re ready to enjoy delicious pies made with your homemade crust!
How to Serve Easy Homemade Pie Crust
Serving your homemade pie crust can elevate any dessert. Here are some delightful ways to enjoy it, whether you’re preparing for a holiday gathering or a casual family dinner.
Sweet Fillings
- Fruit Filling: Fresh fruits like apples, berries, or peaches make delicious fillings that highlight the flaky crust.
- Custard: A rich custard filling can add a creamy texture and sweetness, perfect for a classic dessert.
- Chocolate: Use a chocolate ganache or mousse for an indulgent twist on traditional pies.
Savory Options
- Quiches: Fill your crust with eggs, cheese, and vegetables to create a savory quiche that works well for brunch.
- Pot Pies: A hearty chicken or vegetable pot pie is comforting and satisfying, making great use of the flaky pastry.
- Tarts: Savory tarts filled with spinach or cheese add elegance to any meal and are versatile for different occasions.
How to Perfect Easy Homemade Pie Crust
To achieve the best pie crust, focus on these key techniques. Mastering these tips will ensure your crust is consistently flaky and delicious.
- Chill your ingredients: Keeping butter and water cold helps prevent the fat from melting too quickly, which creates a tender crust.
- Don’t overwork the dough: Mixing just until combined ensures the crust remains light and flaky. Overworking can lead to toughness.
- Use parchment paper: Rolling out the dough between sheets of parchment makes it easier to handle and prevents sticking.
- Let it rest: Chilling the rolled-out dough before baking helps relax the gluten, leading to a more tender texture.
Best Side Dishes for Easy Homemade Pie Crust
Pairing side dishes with your pie can enhance the overall meal experience. Here are some excellent choices that complement your homemade pie crust beautifully.
- Garden Salad: A fresh salad with mixed greens, tomatoes, and cucumbers adds brightness and balance to any meal.
- Roasted Vegetables: Seasoned root vegetables provide warmth and flavor that pairs well with sweet or savory pies.
- Mashed Potatoes: Creamy mashed potatoes offer comfort alongside savory pies like quiches or pot pies.
- Coleslaw: A tangy coleslaw can cut through richness, especially when served with hearty meat-filled pies.
- Crispy Green Beans: Sautéed or roasted green beans add crunch and color to your plate without overpowering other flavors.
- Garlic Bread: This is an excellent accompaniment for savory pies; its buttery flavor complements many dishes well.
Common Mistakes to Avoid
Making your own pie crust can be a rewarding experience, but there are common pitfalls that can lead to less-than-perfect results. Here are some mistakes to avoid:
- Not measuring flour properly: Accurate measurements are key for the right texture. Use a kitchen scale or spoon and level method for best results.
- Using warm butter: Warm butter can lead to a greasy crust. Always use cold, cubed butter straight from the fridge for a flaky texture.
- Overmixing the dough: Mixing too much can develop gluten, making the crust tough. Mix just until combined for a tender result.
- Skipping the chill time: Chilling the dough helps it relax and prevents shrinking during baking. Always chill your dough for at least an hour.
- Rolling out on a floured surface: This can cause sticking and uneven thickness. Instead, use parchment paper for easy rolling and transferring.
Storage & Reheating Instructions
Refrigerator Storage
- Store in an airtight container: Keep your pie crust in a tightly sealed container to prevent drying out.
- Duration: The crust can last up to 3 days in the refrigerator.
Freezing Easy Homemade Pie Crust
- Wrap properly: Use plastic wrap or aluminum foil for wrapping before placing it in a freezer bag.
- Duration: The crust can be frozen for up to 3 months without losing quality.
Reheating Easy Homemade Pie Crust
- Oven: Preheat to 350°F (175°C) and bake for about 10 minutes until warm.
- Microwave: Heat on medium power in short bursts of 15-20 seconds, checking frequently.
- Stovetop: Place in a dry skillet over low heat for a few minutes, flipping occasionally until warmed through.
Frequently Asked Questions
Here are some common questions related to making an Easy Homemade Pie Crust:
How do I know when my Easy Homemade Pie Crust is done?
The crust should be golden brown around the edges and firm to the touch.
Can I use whole wheat flour instead of all-purpose flour?
Yes, you can substitute whole wheat flour, but the texture may be denser. Adjust water as needed.
How do I customize my Easy Homemade Pie Crust?
You can add spices like cinnamon or nutmeg or use flavored vinegars for different taste profiles.
What types of pies work best with this crust?
This easy homemade pie crust is versatile and works well with fruit pies, creamy custards, and savory fillings.
Final Thoughts
This Easy Homemade Pie Crust is not only simple but also incredibly versatile. It provides a flaky, delicious base for any pie filling you choose. Feel free to customize it with various flavors or spices to make it your own! Give it a try and elevate your baking game!
Easy Homemade Pie Crust

Create your own perfect pastry with this Easy Homemade Pie Crust recipe! This flaky and tender crust is incredibly versatile, making it perfect for sweet or savory pies. With just a handful of pantry staples, you can elevate your dessert game for holiday gatherings or casual family dinners. In just 20 minutes of prep time, you’ll have the ideal base ready to chill and roll out. Say goodbye to store-bought options and embrace the joy of baking from scratch!
- Prep Time: 20 minutes
- Cook Time: Not applicable (baking time varies by filling)
- Total Time: 0 hours
- Yield: Approximately 8 servings 1x
- Category: Dessert
- Method: Baking
- Cuisine: American
Ingredients
- 2 1/2 cups all-purpose flour
- 1/2 teaspoon salt
- 3/4 cup cold unsalted butter (cubed)
- 1 teaspoon apple cider vinegar
- 1/2 cup ice-cold water
Instructions
- In a large mixing bowl, whisk together flour and salt. Cut in the cold unsalted butter using a pastry blender or fork until the mixture resembles coarse crumbs.
- Combine apple cider vinegar and ice-cold water in a measuring jug. Gradually pour this into the dry ingredients while gently mixing until a cohesive dough forms.
- Shape the dough into a ball without over-kneading; divide it into two disks and wrap them in foil. Refrigerate for at least one hour.
- Roll out one disk between two sheets of baking parchment to fit a 9-inch pie dish. Chill again while preparing your filling.
Nutrition
- Serving Size: 1 slice (approximately 85g)
- Calories: 210
- Sugar: 0g
- Sodium: 110mg
- Fat: 12g
- Saturated Fat: 7g
- Unsaturated Fat: 3g
- Trans Fat: 0g
- Carbohydrates: 22g
- Fiber: 1g
- Protein: 2g
- Cholesterol: 30mg