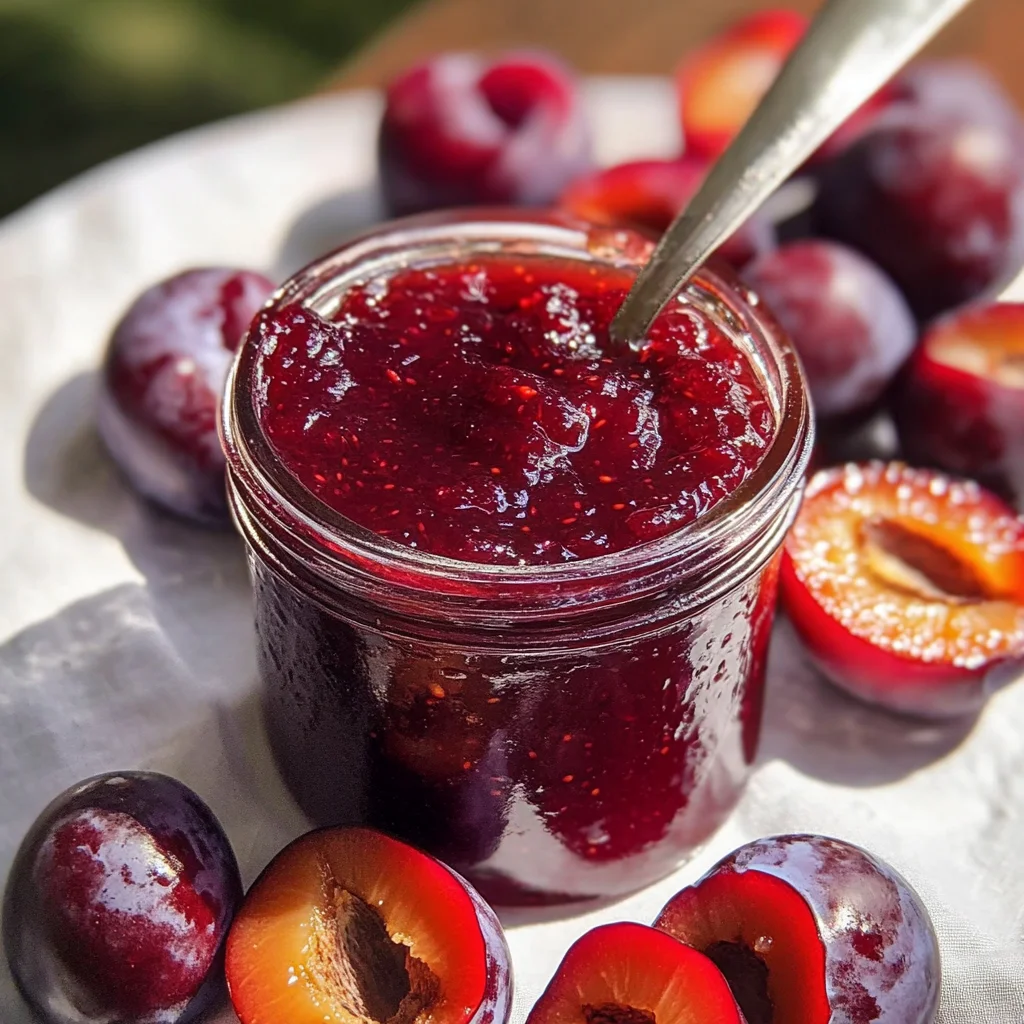
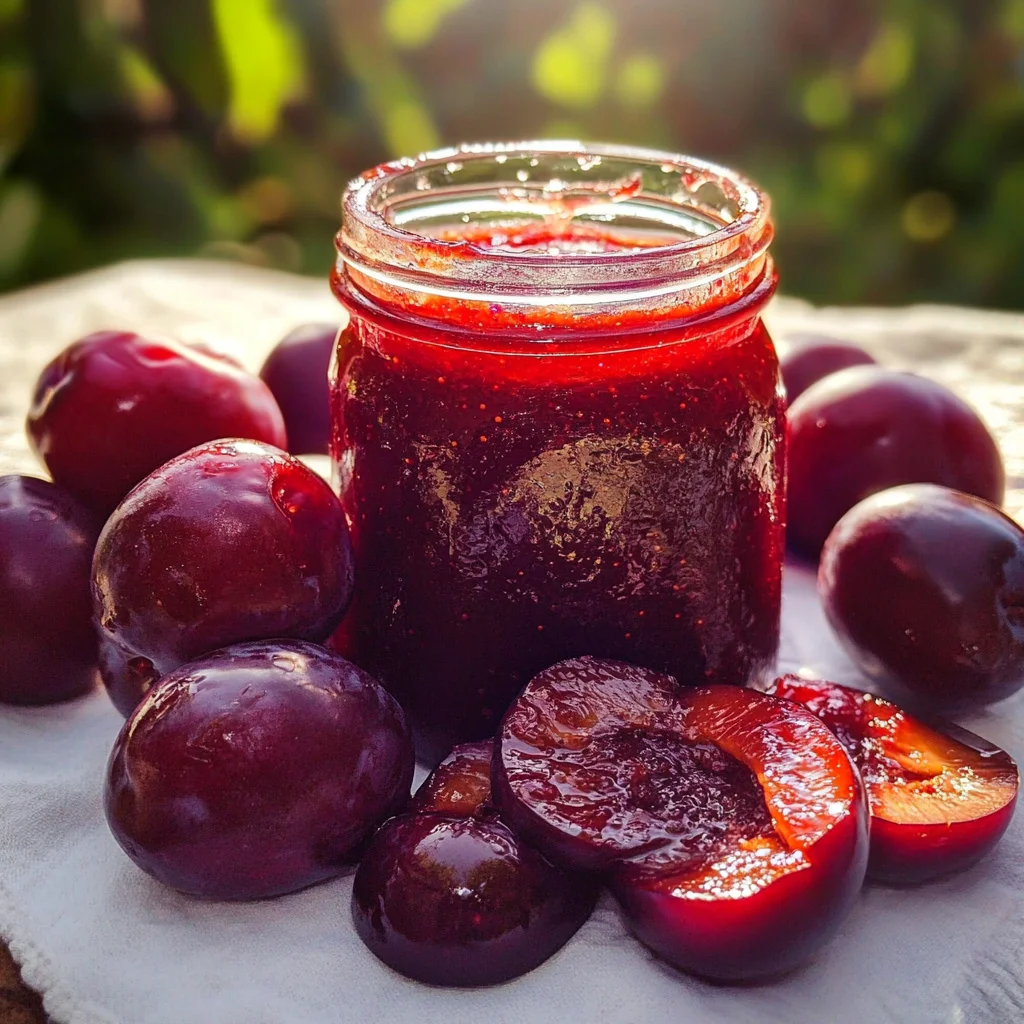
Plum Jam Recipe
Whether you’re looking to make a delightful spread for your morning toast or a sweet addition to desserts, this Plum Jam Recipe is perfect for any occasion. It’s easy to prepare and captures the essence of summer in every jar. Plus, it makes an excellent gift or a tasty treat for your own pantry!
Why You’ll Love This Recipe
- Easy to Make – This jam requires just a few basic ingredients and straightforward steps, making it accessible for beginners.
- Versatile Uses – Enjoy it on toast, as a topping for yogurt, or incorporated into baked goods like muffins and cakes.
- Natural Sweetness – The ripe plums provide a delightful balance of sweetness and tartness without being overly sugary.
- Great for Gifting – Homemade plum jam makes thoughtful gifts that friends and family will appreciate, especially during holidays.
- Preserves Summer Flavors – Capture the taste of fresh plums all year long with this simple preserving method.
Tools and Preparation
Before diving into the recipe, you’ll need some essential tools to make your jam-making experience smooth and enjoyable.
Essential Tools and Equipment
- Heavy-bottomed pot
- Wooden spoon
- Canning jars with lids
- Ladle
- Food processor (optional)
Importance of Each Tool
- Heavy-bottomed pot – Ensures even cooking and prevents the jam from burning as it cooks down.
- Wooden spoon – Ideal for stirring the mixture gently without scratching your pot’s surface.
- Canning jars with lids – Necessary for storing your finished jam properly and keeping it fresh.
Ingredients
To create this delicious plum jam, gather the following ingredients:
For the Plum Jam
- 2 lbs (900g) ripe plums, pitted and chopped
- 1 ½ cups (300g) granulated sugar
- 2 tbsp fresh lemon juice
- ½ tsp lemon zest (optional)
Instructions:
Servings: 24
Prep Time: 20 minutes
Cook Time: 50 minutes
Total Time: 70 minutes
Course: Condiment
Cuisine: American
Keywords: homemade jam, plum jam
Nutrition Facts: Calories: 45 kcal
How to Make Plum Jam Recipe
Step 1: Prepare the Plums
- Wash the ripe plums thoroughly under running water.
- Cut each plum in half and remove the pits before chopping them into smaller pieces.
Step 2: Cook the Mixture
- In a heavy-bottomed pot, combine the chopped plums, granulated sugar, fresh lemon juice, and lemon zest if using.
- Heat over medium heat until the sugar dissolves, stirring occasionally.
Step 3: Boil the Jam
- Increase the heat to bring the mixture to a rolling boil.
- Stir constantly while cooking for about 30–40 minutes until it thickens. You can check consistency by placing a spoonful on a plate; if it gels slightly after cooling, it’s ready.
Step 4: Jar Your Jam
- Once thickened, remove from heat.
- Using a ladle, pour hot jam into sterilized canning jars leaving about ¼ inch headspace at the top.
- Seal tightly with lids while still hot.
Step 5: Cool and Store
- Allow jars to cool completely at room temperature.
- Once cooled, store them in a cool dark place or refrigerate if opened.
Enjoy your homemade plum jam on toast or as a sweet addition to various dishes!
How to Serve Plum Jam Recipe
Plum jam is a versatile condiment that can enhance many dishes. Whether you’re enjoying it on breakfast items or incorporating it into savory meals, here are some delightful serving suggestions.
On Toast
- Spread a generous layer of plum jam on toasted bread for a quick and tasty breakfast. It pairs wonderfully with butter or cream cheese.
With Cheese
- Serve plum jam alongside a cheese platter. Its sweet-tart flavor complements sharp cheeses like cheddar or creamy ones like brie.
In Yogurt
- Stir a spoonful into plain yogurt for a delicious and healthy snack. The jam adds natural sweetness and a pop of flavor.
As a Glaze
- Use plum jam as a glaze for grilled meats. Brush it on chicken or turkey during the last few minutes of cooking for added sweetness and shine.
In Baking
- Incorporate plum jam into baked goods like muffins or cakes. Swirl it into batter before baking for fruity bursts in every bite.
With Ice Cream
- Drizzle warm plum jam over vanilla ice cream for an indulgent dessert. This combination creates a delightful contrast of temperatures and flavors.
How to Perfect Plum Jam Recipe
Creating the perfect plum jam involves careful preparation and attention to detail. Here are some tips to help you achieve the best results.
- Choose ripe plums: Select plums that are fully ripe for the best flavor and sweetness in your jam.
- Measure accurately: Use precise measurements for sugar and lemon juice to ensure proper consistency and taste.
- Cook slowly: Allow the jam to simmer gently, which helps develop deep flavors while preventing burning.
- Test consistency: Use the plate test by placing a spoonful of hot jam on a cold plate. If it holds its shape, it’s ready to jar.
- Sterilize jars: Ensure your jars are clean and sterilized before filling them to preserve freshness and prevent spoilage.
- Store properly: Keep your plum jam in a cool, dark place after sealing, and refrigerate once opened to maintain quality.
Best Side Dishes for Plum Jam Recipe
Plum jam can elevate various side dishes, making them more exciting and flavorful. Here are some great options to consider.
- Cheese Platter: Pair assorted cheeses with crackers and fruit for an elegant starter that complements the sweetness of your plum jam.
- Savory Biscuits: Serve warm biscuits alongside plum jam as a delightful contrast between buttery goodness and fruity sweetness.
- Roasted Vegetables: Add a dollop of plum jam on top of roasted carrots or Brussels sprouts for an unexpected burst of flavor.
- Grilled Chicken Salad: Toss grilled chicken pieces with mixed greens, nuts, and a drizzle of plum jam vinaigrette for a refreshing salad.
- Pancakes or Waffles: Top pancakes or waffles with plum jam instead of syrup for an innovative breakfast treat that’s both sweet and tangy.
- Stuffed Peppers: Incorporate spoonfulls of plum jam in stuffed peppers filled with rice and vegetables, adding depth to every bite.
Common Mistakes to Avoid
Making Plum Jam can be easy, but there are some common mistakes that can affect the outcome. Here are a few to watch out for.
- Using unripe plums – Unripe plums lack the sweetness needed for great jam. Always choose ripe, juicy plums for the best flavor.
- Not measuring ingredients carefully – Accurate measurements ensure proper consistency and taste. Use a kitchen scale for precision.
- Skipping the lemon juice – Lemon juice helps balance the sweetness and enhances flavor. Do not omit it, as it is essential for a delicious jam.
- Ignoring sterilization of jars – Not sterilizing jars can lead to spoilage. Always sterilize your jars before filling them with jam to ensure safety and longevity.
- Cooking at too high a temperature – Cooking on high heat can cause the jam to burn. Maintain medium heat and stir frequently for even cooking.
Storage & Reheating Instructions
Refrigerator Storage
- Store in airtight containers to maintain freshness.
- Plum jam can last up to 3 weeks in the refrigerator.
Freezing Plum Jam Recipe
- Transfer cooled jam into freezer-safe containers or jars.
- Plum jam freezes well for up to 1 year if sealed properly.
Reheating Plum Jam Recipe
- Oven – Preheat to low temperature; place jar in an oven-safe dish with warm water until warmed through.
- Microwave – Heat in short bursts of 15-20 seconds in a microwave-safe container, stirring between each burst.
- Stovetop – Gently warm over low heat in a saucepan, stirring frequently until heated.
Frequently Asked Questions
Here are some common questions about making Plum Jam.
How do I know when my plum jam is ready?
The jam is ready when it thickens and coats the back of a spoon. A simple test is to place a spoonful on a cold plate; if it holds its shape after cooling slightly, it’s done.
Can I use frozen plums for this Plum Jam Recipe?
Yes, you can use frozen plums! Just thaw them completely and drain excess liquid before following the recipe.
What can I use instead of sugar in this Plum Jam Recipe?
You can try using honey or maple syrup as alternatives, though they may alter the texture and flavor slightly.
How long does homemade plum jam last?
When properly stored in the refrigerator, homemade plum jam lasts about three weeks. If frozen, it can last up to one year.
Final Thoughts
This Plum Jam Recipe is a delightful way to enjoy the sweet-tart flavors of ripe plums all year round. It’s versatile enough to be used on toast, in desserts, or as a topping for yogurt. Feel free to customize it by adding spices like cinnamon or ginger for an extra twist!
Plum Jam Recipe
Indulge in the vibrant flavors of summer with this easy Plum Jam Recipe. Bursting with the natural sweetness and tartness of ripe plums, this homemade jam is perfect for spreading on toast, topping yogurt, or elevating your favorite desserts. Simple to make, it requires just a few staple ingredients and minimal effort, making it ideal for both novice cooks and seasoned chefs. Whether you’re looking to preserve the essence of fresh plums or create thoughtful gifts for friends and family, this versatile jam will surely delight. Capture the taste of summer all year long with this delightful treat!
- Prep Time: 20 minutes
- Cook Time: 50 minutes
- Total Time: 1 hour 10 minutes
- Yield: Approximately 24 servings 1x
- Category: Condiment
- Method: Cooking
- Cuisine: American
Ingredients
- 2 lbs ripe plums, pitted and chopped
- 1 ½ cups granulated sugar
- 2 tbsp fresh lemon juice
- ½ tsp lemon zest (optional)
Instructions
- Prepare the Plums: Wash plums under running water, halve them, remove pits, and chop into smaller pieces.
- Cook Mixture: In a heavy-bottomed pot, combine chopped plums, sugar, lemon juice, and zest. Heat over medium until sugar dissolves.
- Boil Jam: Increase heat to a rolling boil; stir constantly for 30–40 minutes until thickened. Check consistency using the plate test.
- Jar Jam: Remove from heat and pour hot jam into sterilized jars, leaving ¼ inch headspace. Seal tightly.
- Cool & Store: Let jars cool completely before storing in a cool dark place or refrigerating if opened.
Nutrition
- Serving Size: 1 tablespoon
- Calories: 45
- Sugar: 11g
- Sodium: 0mg
- Fat: 0g
- Saturated Fat: 0g
- Unsaturated Fat: 0g
- Trans Fat: 0g
- Carbohydrates: 12g
- Fiber: 0g
- Protein: 0g
- Cholesterol: 0mg